

Blanching french fries is the secret step between ordinary and legendary fries; it gives you a tender interior and a shatter-crisp exterior that sings with salt and a hint of toasted potato.
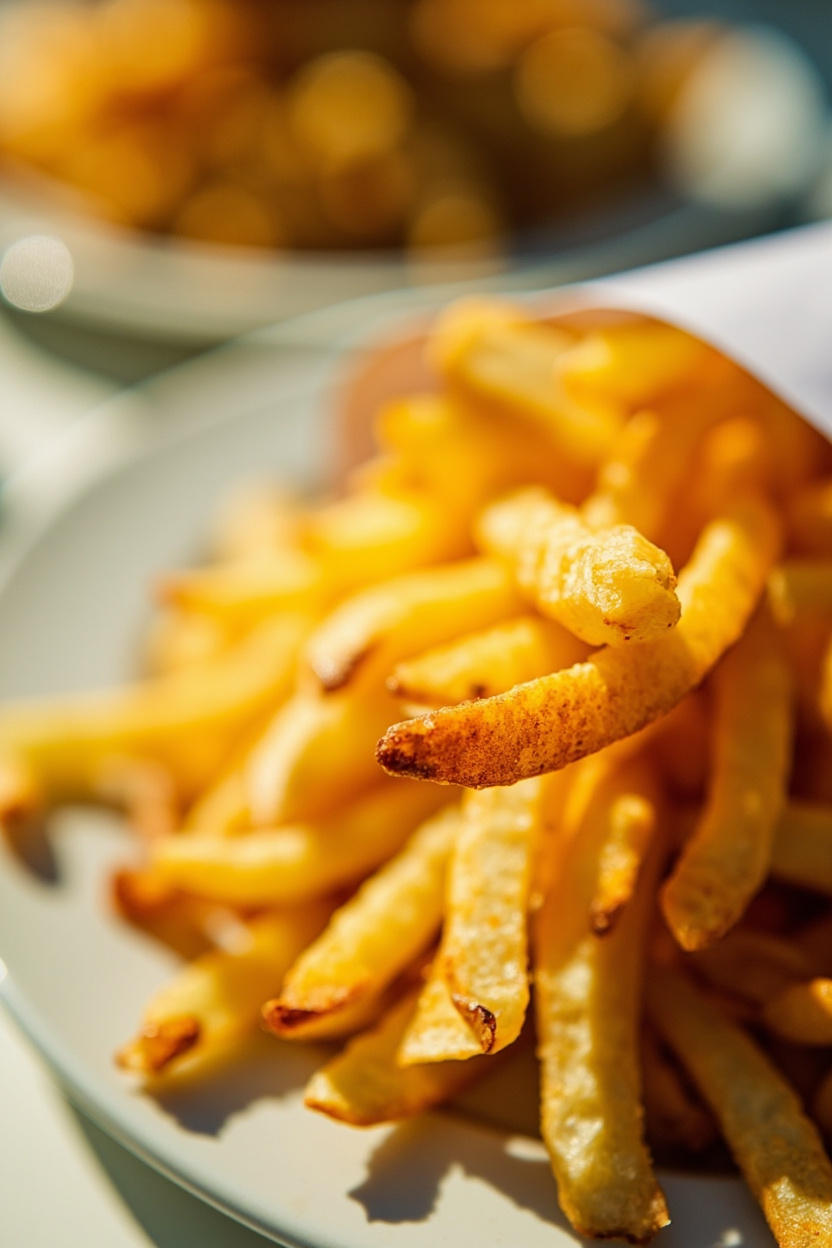
Think of fries with a satin-soft core, a golden skin that crunches then melts, and a clean, bright potato aroma that makes you reach for another.
If you love texture and true potato flavor, mastering blanching French fries will change your home fry game forever.
I’ll walk you through a blanching french fries recipe and share blanching french fries tips that pros use quietly in busy kitchens, so your fries come out perfect every time.
Why This Blanching French Fries Recipe Works?
- Blanching stabilizes the interior: Gently cooking the fry’s starches and proteins causes cell walls to soften but not collapse, so the center stays fluffy after the final fry.
- Blanching reduces surface sugars and free amino acids that cause excessive browning and acrylamide formation. That yields a more controlled Maillard reaction and a cleaner golden color.
- The two-stage cook separates moisture removal from browning: The low-temperature blanch draws out water and gelatinizes surface starch, so the high-temperature finish crisps quickly without overcooking the interior.
- Cooling between stages firms the exterior and allows surface moisture to evaporate, giving the oil a chance to crisp rather than steam the potato.
Pantry Power: The Little Things That Make Blanched Fries Sing
- 1 kg Russet potatoes: high starch, low moisture for a dry interior and crunchy crust
- 2 L of cold water: dilutes surface starch and prevents immediate gelatinization during cutting
- 10 g fine sea salt for blanching water: raises boiling point slightly and seasons inward via osmosis
- 1.5 L vegetable oil (canola or sunflower): high smoke point maintains steady frying temperature
- 10 g flaky sea salt to finish: coarse flakes provide a burst of saltiness and textural contrast
Kitchen Tools You’ll Need
- Large chef’s knife and cutting board.
- Heavy-bottomed pot or deep fryer with thermometer.
- Large bowl for ice bath and fine-mesh strainer or spider.
- Wire rack and baking sheet for drying.
From Parboil to Perfection: The Blanching Playbook for Crispy Fries
- Cut and soak: Cut potatoes into uniform sticks and soak in cold water for 30 minutes. You’ll see the water cloud with starch – that’s surface starch leaving the potato. The fries will feel slightly gritty at first, then smoother as starch releases.
- Boil gently: Bring salted water to a slow rolling boil, add fries, and simmer 3-4 minutes. The smell changes to a quiet, clean potato aroma, and the exterior softens while the core still resists a bite.
- Shock and dry: Transfer immediately to an ice bath for 5 minutes. The shock stops carryover cooking and locks in texture. Pat completely dry; dampness will cause oil sputtering and soggy fries.
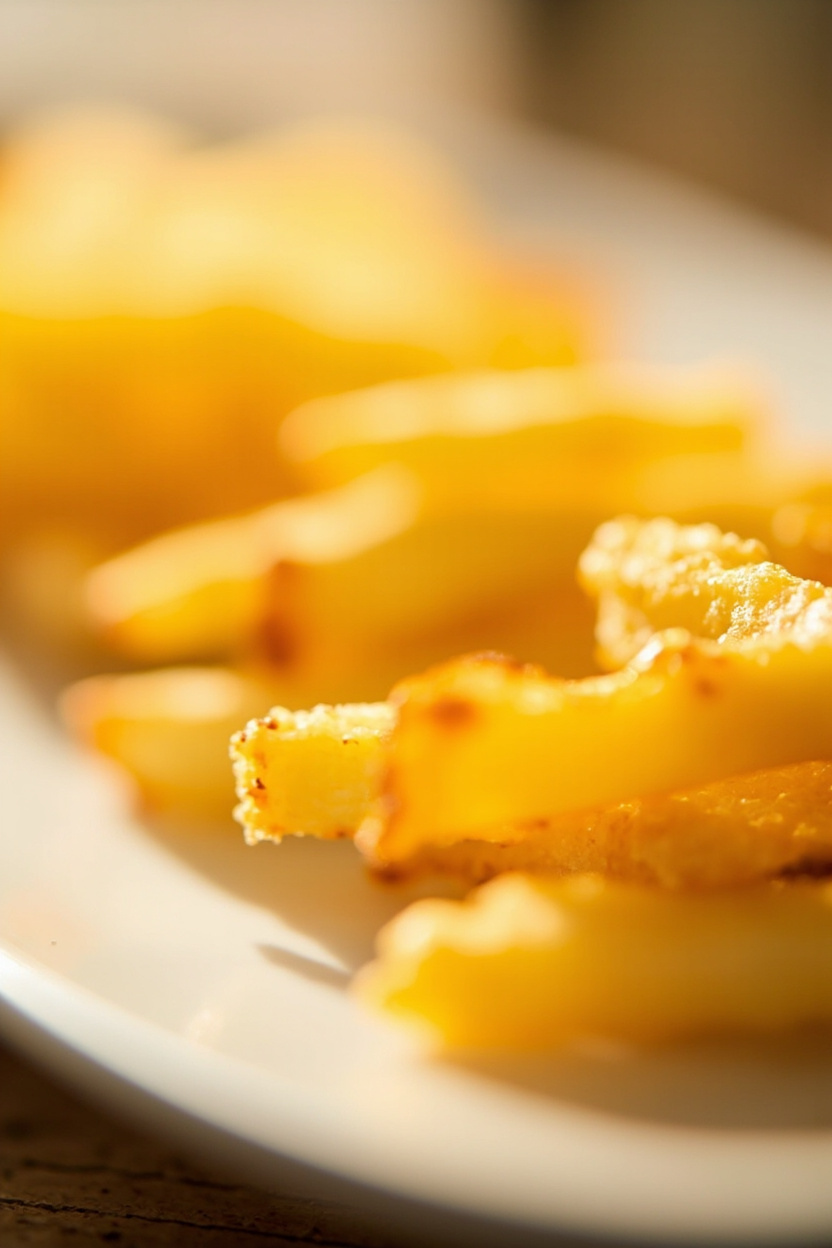
- Blanch fry: Heat oil to 160 degrees C and fry in small batches for 3-4 minutes until pale and tender. The batch will bloom slightly but not brown. Cool on a rack; the surface will firm and feel slightly tacky.
- Rest: Let blanched fries rest 15-30 minutes, or refrigerate for up to 24 hours. Chilled fries dehydrate a bit, improving the final crisp.
- Final fry: Heat oil to 190 degrees C and fry batches 2-3 minutes until deep golden and crackling. You’ll hear a sharp sizzle and smell a rich toasted note – that’s the Maillard reaction in full swing.
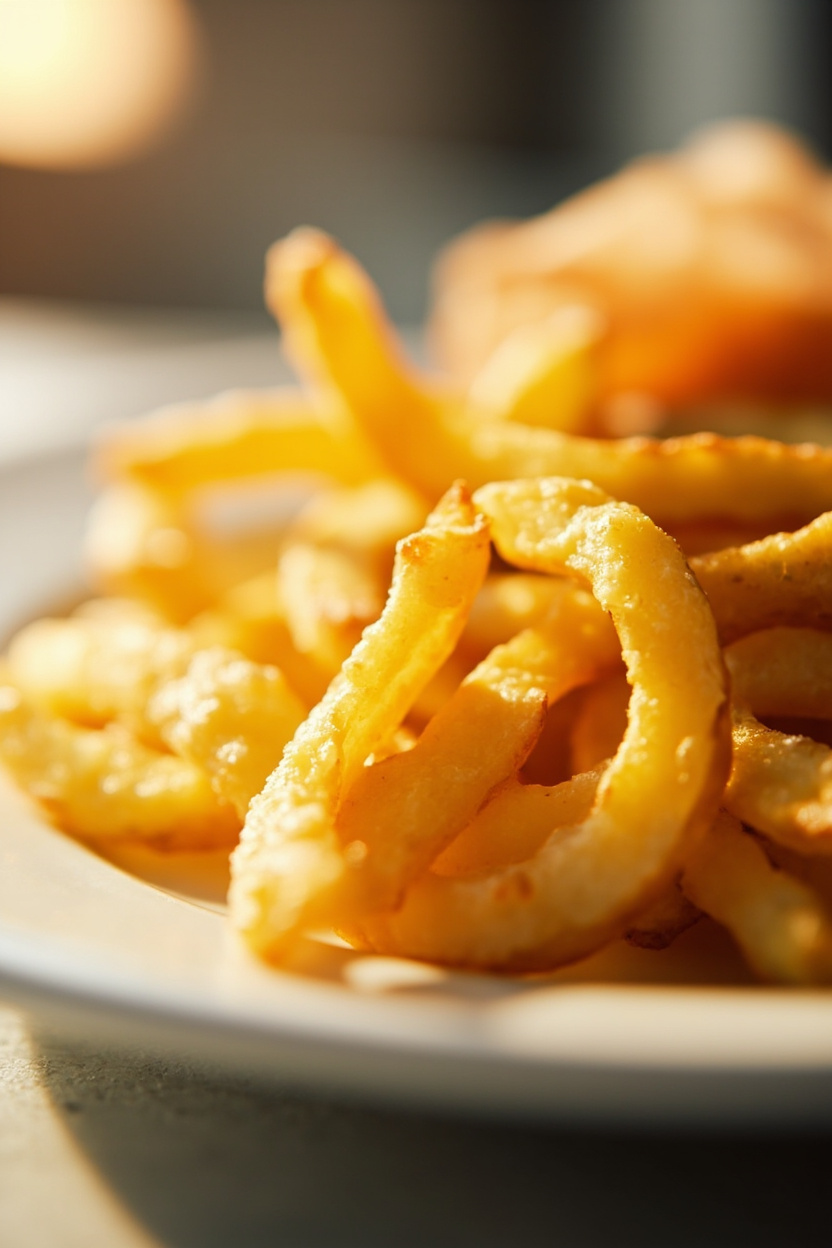
- Drain and season: Drain on paper and immediately sprinkle with flaky salt. Serve while hot so the contrast between the crunchy shell and the tender core is most pronounced.
Little Tricks That Turn Blanched Fries Legendary
Temperature Control
A reliable thermometer is non-negotiable. Keep the oil steady at 160 °C for blanching and 190 °C for finishing. Temperatures that are too low result in greasy fries, while too high will brown the outside before the interior sets.
Batch Size and Crowding
Don’t overcrowd the fryer. Crowding drops the oil temperature and creates steam that softens the crust. Fry in small batches, so each stick has room to crisp and brown evenly.
Drying and Resting
Dry fries thoroughly and rest them between stages. Moisture is the enemy of crispness, so drying on a rack and chilling briefly concentrates starches and improves final texture.
Salt at the Right Time
Salt immediately after the final fry while the surface is hot and slightly oily. It adheres better and gives you that satisfying crunch and seasoned bite.
How to Store and Freeze?
- Room temp: Serve fresh for best texture; fries lose crispness quickly at room temperature.
- Fridge: Store cooled blanched fries in an airtight container up to 24 hours before final frying.
- Freezer: Flash-freeze blanched fries on a tray, then transfer to a bag for up to 3 months; fry from frozen at 190 °C, adding a minute or two to cook through.
Seasonal Variations & Pro Swaps
The Seasonal Edge
Winter and early spring are ideal for russets because stored potatoes have lower sugar levels, reducing excess browning in the blanch and final fry. Cooler-season potatoes also yield a fluffier interior.
Variations
- Try sweet potatoes for a sweeter, softer interior and a shorter blanch time; treat them as a fast-frying vegetable.
- Parboil with a sprig of thyme and garlic in the blanch water for a subtle aromatic infusion, great for autumn dinners.
- Finish with smoked paprika and grated Parmesan for a richer, savory twist for holiday gatherings.
- Use Yukon Golds for a creamier interior and more buttery flavor; cut slightly thicker for balance.
Frequently Asked Questions
No, the ice bath stops carryover cooking and preserves the desired tender core; skipping it risks overcooking.
Industrial kitchens sometimes blanch in oil for speed and to avoid water absorption, but home cooks usually blanch in water, then fry for best texture control.
Yes, blanching can reduce surface sugars that react to form acrylamide, so you get a safer, more evenly colored fry.
Reheat in a hot oven or fryer for best results; microwaving makes them soggy.