

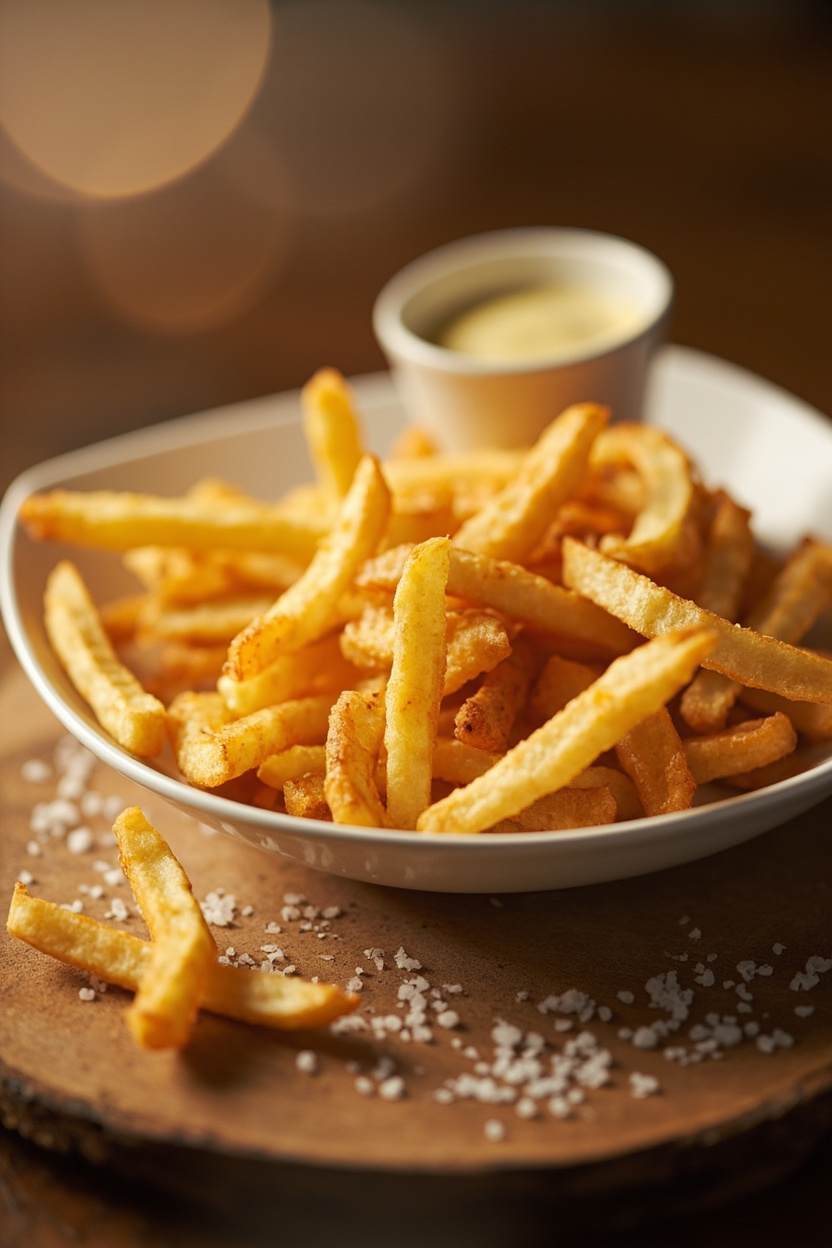
As The Experienced Chef, I’ll tell you right away why amsterdam fries deserve a permanent slot in your repertoire.
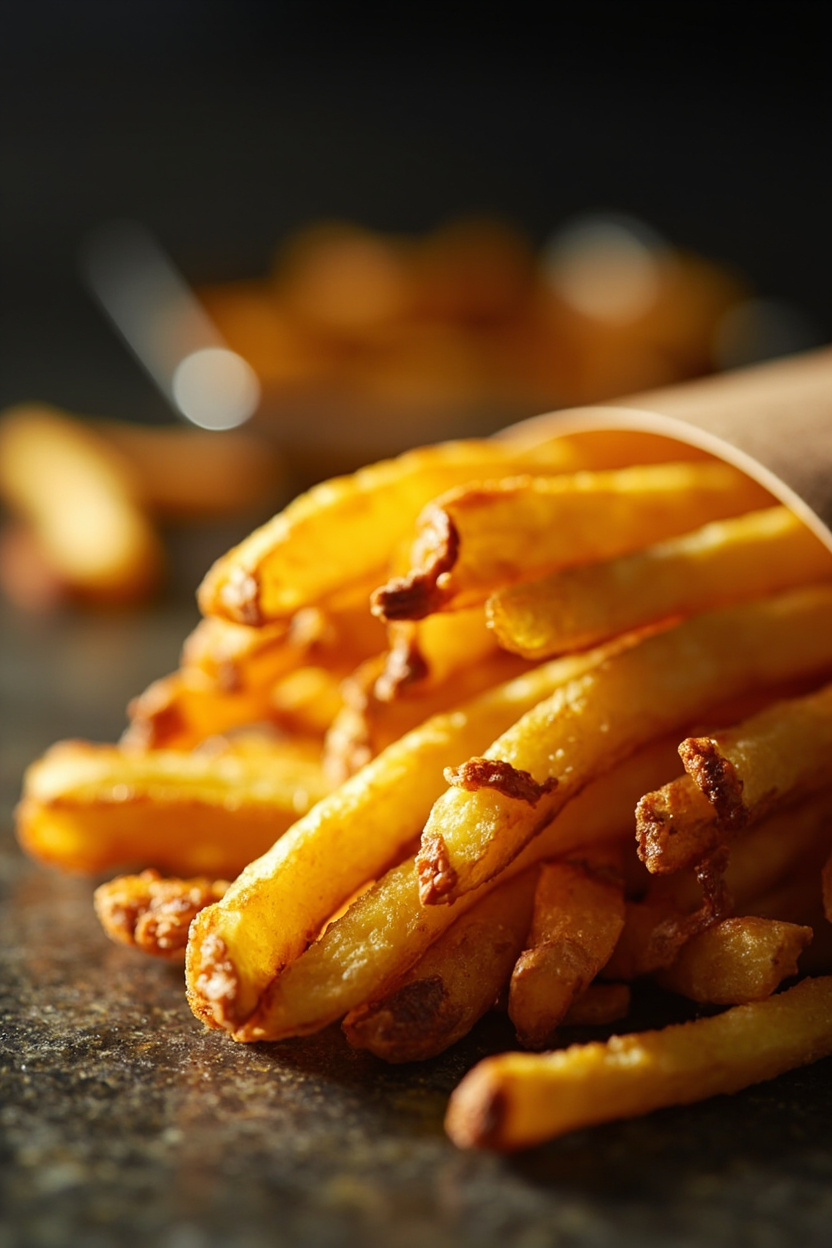
These fries deliver a contrast of textures – a crunchy, golden exterior giving way to a fluffy, steamy interior, and a flavor profile that’s simple, salty, and slightly sweet from the potato itself.
You should make them because they’re straightforward, forgiving, and endlessly adaptable, whether you want a classic street-style snack or an elevated side.
I recommend paying attention to technique more than fancy ingredients.
The magic lies in starch management, oil temperature, and a final crisp that holds up against sauces.

Amsterdam Fries
Equipment
- Heavy-bottomed pot or deep fryer – for stable oil temperature control
- Thermometer – to monitor oil at precise fry temps
- Slotted spoon or spider – to transfer fries safely
- Baking sheet and wire rack – to drain and keep fries crisp
Ingredients
- 900 g 2 lb Russet potatoes, peeled and cut into 1 cm strips
- 1.5 L 6 cups Water with 30 g (2 tbsp) salt for blanching
- 500 ml 2 cups Neutral frying oil
- 10 g 2 tsp Fine sea salt to finish
- 60 g 1/4 cup Mayonnaise, optional
Instructions
- Soak the cut potatoes in cold water for 30 minutes to 2 hours, until water runs clear, to remove surface starch.
- Drain and pat dry thoroughly. Heat oil to 150 C (300 F). Blanch fries in batches for 6-7 minutes until pale and slightly tender.
- Remove blanched fries to a wire rack. Let them rest 15 minutes; the interior will steam and become fluffy.
- Increase oil temperature to 180 C (355 F). Fry batches for 2-3 minutes until deep golden and crackling.
- Drain on paper then transfer to a warm oven for 2 minutes to maintain heat. Season immediately with fine sea salt and serve with sauce.
Notes
- Soaking is key: Cold water removes excess starch for crisper fries.
- Double fry: Low then high heat creates a tender interior and crisp shell.
- Oil choice: Use a neutral oil with a high smoke point for clean flavor.
The Secret to the Best Amsterdam Fries
I want to be clear about why these homemade Amsterdam fries turn out superior to a single-fry method.
First, starch control matters. Removing surface starch through soaking prevents the fries from sticking together and promotes a crisp crust.
Second, temperature staging is crucial. I recommend a low-temperature blanch to cook the interior without browning, followed by a high-temperature finish to create an audible crackle on the exterior.
Third, the potato variety and cut size influence texture. Russets have a high starch, low moisture profile that yields a fluffy center. Cutting to uniform thickness ensures even cooking and a consistent golden color across the batch.
Finally, finishing technique makes a difference. Salt immediately after frying, while the surface still holds a thin layer of oil; the salt will adhere and accentuate flavor without making fries soggy. These are the technical levers you should pull to get a restaurant-quality result.
What Goes Into Truly Legendary Amsterdam Fries?
- 900 g (2 lb) Russet potatoes: high starch, yields a fluffy interior and crisp exterior
- 1.5 L (6 cups) water + 30 g (2 tbsp) salt: osmotic action firms the potato and seasons from within
- 500 ml (2 cups) neutral frying oil: high smoke point maintains stable frying temperature
- 10 g (2 tsp) fine sea salt: fine crystals dissolve quickly and enhance perceived saltiness
- 60 g (1/4 cup) mayonnaise, optional: emulsified fat adds creaminess and balances salt
Kitchen Tools You’ll Need
- Heavy-bottomed pot or deep fryer.
- Digital thermometer.
- Wire rack and baking sheet.
- Slotted spoon or spider strainer.
Turn Potato to Perfection: The Cooking Ritual

- Begin by cutting uniform fries. You should feel the potato give slightly under the knife; the edges should be clean without ragged bits.
- Soak in very cold water until the water runs clear. The smell is neutral, and the water will lose cloudiness as starch disperses.
- Dry completely. Any surface moisture will spit in hot oil and reduce crisping efficiency.
- Blanch at 150 C (300 F). The potatoes will be pale and tender, with a faint potato aroma but no caramelization.
- After resting, fry at 180 C (355 F). You’ll hear a sharp sizzle and see rapid browning; the aroma becomes toasty and slightly nutty.
- Drain and salt while hot. Texturally, you want an audible crunch, then a yielding, fluffy interior when bitten.
Insider Tricks for Crackling, Non-Soggy Fries
Soak Thoroughly
Soaking removes surface starch that causes clumping and gummy surfaces. I recommend at least 30 minutes; overnight is fine too.
Mind the Oil Temperature
Use a thermometer and don’t guess. Low first, then high finish. If the oil’s too hot during blanch, outsides will brown before interiors cook.
Troubleshooting Your Amsterdam Fries
Under-crispy Fries
If fries are limp, the oil temp was too low on the finish. Raise to 180 C and fry in smaller batches so the oil recovers heat.
Burnt Exterior, Raw Center
This means the oil was too hot on the blanch or the cuts were uneven. Lower blanch temp and ensure uniform stick size.
Variations and Substitutions
- Sweet potato fries: Use orange-fleshed sweet potatoes, and reduce blanch time slightly.
- Herb fries: toss with chopped parsley and garlic powder after frying.
- Truffle fries: finish with a drizzle of truffle oil and grated Parmesan.
- Oven-baked option: parboil, dry, toss in oil, bake at 220 C for 30-35 minutes, turning once.
How to Store Amsterdam Fries?
- Room temperature: Serve fresh within 15 minutes for the best texture.
- Fridge: Store cooled fries in an airtight container up to 3 days; reheat in a hot oven or air fryer for best crisp.
- Freeze: Flash-freeze on a tray, then bag for up to 3 months; refry from frozen at 180 C until crisp.
What’s in Your Amsterdam Fries?
These fries are primarily a carbohydrate-rich food with moderate fat from frying.
They supply vitamin C and potassium from potatoes. The recipe is gluten-free and can be dairy-free if you skip the mayonnaise. Adjust portion sizes if you’re tracking calories.
Wrapping Up
If you want consistently crisp, fluffy homemade Amsterdam fries, master the soaking and double-fry technique.
I recommend practicing once and tweaking the timing to your equipment. You should find the payoff worth the modest effort, textural contrast, straightforward flavor, and endless ways to serve them. Go on, make a batch and taste the difference.
Frequently Asked Questions
Amsterdam fries tend to be thicker, double-fried, and served with dense sauces. The double-fry method and choice of potato create a denser, starch-forward interior.
Yes. Use a heavy pot with 5-6 cm of oil and a thermometer to control temperature carefully for both blanching and finishing.
Keep finished fries in a single layer on a wire rack in a warm oven (80-90 C), but fry in small batches so oil temp remains stable.
They are a satisfying treat. You can reduce oil absorption by maintaining correct temperatures and blotting excess oil, but they remain an indulgent side.